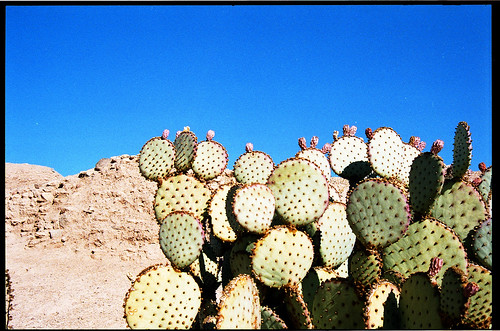
Another sick day, another day of scanning. Today (technically, yesterday at this point) I concentrated on color negatives, which are more difficult to handle than the slides. Because of the way they load into the transparency carrier for my scanner, there is more variation in position of the frames. So, in addition to fiddling with getting the film strip loaded, I need to modify the marquee position for all eight shots. I've scanned four rolls of film today, and it has taken over six hours. That is just for the scanning - I've also spent another two hours post-processing in Bibble and uploading to Flickr, just for the first two rolls.
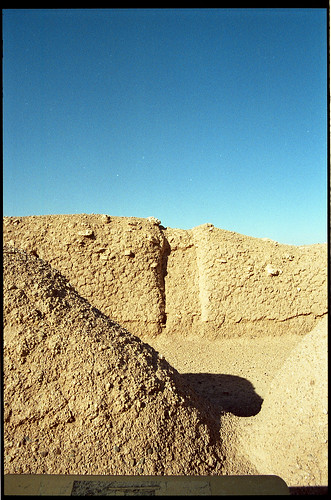
Why bother? In addition to still being sick and not wanting to leave the house today, I am really excited about bringing these photos back to life. These four rolls plus three more still to go are from our honeymoon trip to Arizona. In October of 2002 (6 months after the wedding because I didn't have enough vacation days built up yet in April) we flew into Phoenix and rented a car. We had no set plans. With a Motel 6 directory and a few good guidebooks we drove wherever we wanted and did whatever we felt like that day. I had brought my big camera, all my lenses, and my full-size tripod - photography would be an important component of the trip.
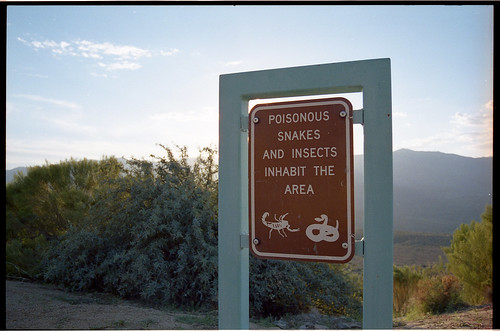
You know how disappointing it is when you get the prints back and the photos don't look as good as you remembered the scenery looking? The colors aren't right, the exposures are all washed out in the sky and the shadows are too dark to see inside? The red is gone from the rocks and they look normal instead of alien, so you amend your memories and put the pictures in albums and the trip is over.
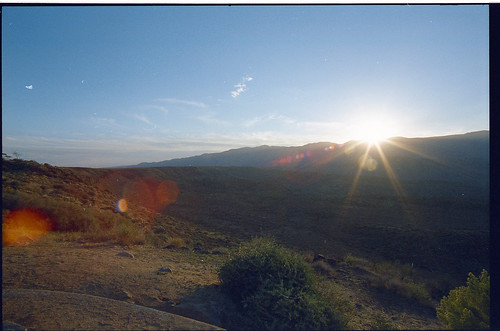
Guess what. Digital photos aren't the first to have white-balance problems. With color-positive slide film, the colors are what they were. With color-negative print film, there is a lot of interpretation involved when making prints. Look at a negative - it certainly isn't exactly opposite of real-life color. Even in good photo labs, where the color adjustments are done by humans and not machines, those humans are not YOU. They weren't THERE. They are guessing at how those pictures are supposed to look, and they are going to get it wrong.
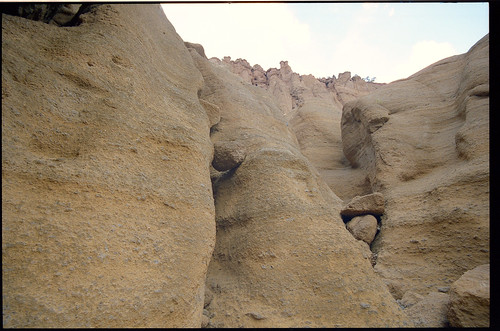
Solution: scan the negatives. Post-process in Bibble. Use click-white to choose areas you know are neutral, keep clicking on different points until the color balance looks correct. Use fill light to bring out the shadow details, use exposure adjustments to lower the skylight. Watch the histogram and the preview image. The information is still there in the negative - you are just telling Bibble how to interpret the inputs to create an output that better matches what you know you saw.
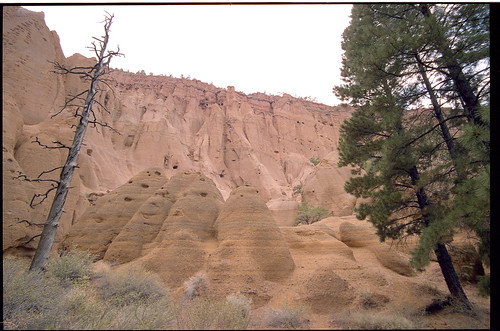
I'm very happy with the results so far. What do you think?
I'm jealous. When I went back and scanned a bunch of negatives, granted negatives not slides, they were much more scratched up than I'd hoped. I could probably save many of them, but they're going to require quite a bit of touch up. Ah, at least I've got them digital now so that they won't get scratched more.
ReplyDeleteIf you still have the original negatives, there are some scanners that have software that may be able to remove a lot of the scratches automatically during scanning. It isn't just post-processing on the image, either. Read up on Digital ICE^3 technology - it may help you out.
ReplyDeleteAs for how they got scratched in the first place - how were the negatives stored? I've been preserving my negatives in PrintFile pages from http://www.pfile.com/index.html these pages are very clear, smooth, and well-sized. No matter what format negative you have, they seem to have the pages to store it. Their print album loose-leaf pages are also the nicest I've ever come across.